At BrightLane Restoration in Glen Allen, VA, headlight restoration is all we do, so we see the full range of lens damage every week. This guide explains what's actually happening to your headlights, why it matters more than most drivers realize, and what your real options are.
What Your Headlights Are Actually Made Of
Up until the early 1990s, most headlight lenses were made of glass. Glass is heavy, expensive to shape, and shatters on impact. Automakers switched to polycarbonate plastic because it's lighter, cheaper, far more impact-resistant, and can be molded into the sleek, aerodynamic shapes you see on cars today.
Polycarbonate has one major weakness, though: it degrades when exposed to ultraviolet (UV) light. To compensate, the factory sprays each lens with a thin, clear UV-protective hard coating. When your headlights are new, that coating is doing all the work of keeping the plastic clear and protected.
The problem is that this factory coating doesn't last forever. Once it begins to break down, the bare polycarbonate underneath is exposed — and that's when the trouble starts.
Why Headlights Turn Cloudy and Yellow
Cloudiness and yellowing are not the same thing, even though they often show up together. Here's what's actually causing each.
1. UV Radiation From the Sun
This is the number one culprit. The sun's UV rays slowly oxidize the polycarbonate once the protective coating wears thin. As the plastic oxidizes, its surface becomes microscopically rough and develops a yellow or brownish tint. Cars that park outside all day — in driveways, work lots, or on the street here in Glen Allen — degrade noticeably faster than garage-kept vehicles.
2. Oxidation
Oxidation is the chemical reaction between the plastic and oxygen, accelerated by UV light and heat. It creates that chalky, milky, faded look on the surface of the lens. Run your finger across a badly oxidized headlight and you may even see a faint yellowish residue. This is the layer a proper restoration removes.
3. Road Debris and Abrasion
Every mile you drive, your headlights are sandblasted by sand, gravel, salt, and grit thrown up by traffic. Over the years this creates a web of tiny scratches and pitting that scatter light and make the lens look hazy — even after you clean it.
4. Heat From the Bulbs
Headlight assemblies get hot, especially with halogen bulbs. Repeated heating and cooling cycles stress the plastic and the coating, contributing to clouding from the inside-out in some cases.
5. Chemical Exposure
Car wash chemicals, road salt (a real factor through Virginia winters), gasoline splashes, and even some household cleaners can attack the protective coating and speed up its breakdown.
In most cases, it's a combination of all of these. The factory coating fails first, and then UV, oxidation, and abrasion go to work on the unprotected plastic underneath.
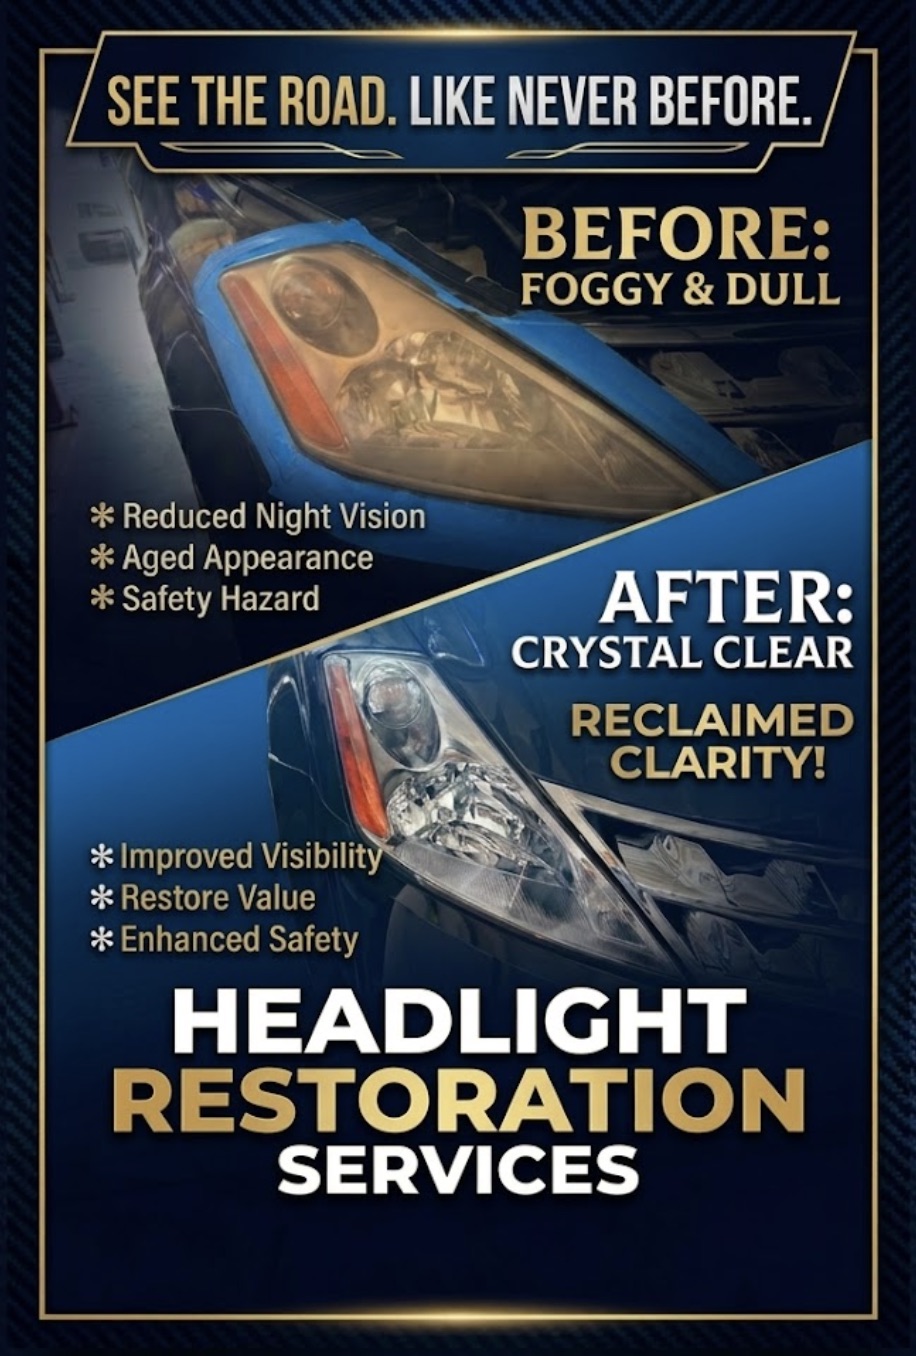
Why Cloudy Headlights Are a Safety Problem, Not Just a Cosmetic One
It's tempting to treat foggy headlights as a purely cosmetic annoyance. They're not. The lens is part of the optical system that aims and focuses your light beam.
- Reduced brightness: Studies of degraded headlights have found they can lose a large percentage of their effective light output. Your bulbs may be working perfectly, but if the lens is clouded, much of that light never makes it onto the road.
- Scattered, misdirected light: Oxidation and scratches scatter the beam in random directions instead of projecting it forward. That means less light where you need it and more glare for oncoming drivers.
- Shorter reaction distance: At night, less usable light means you see hazards — a pedestrian, a deer, debris — later, leaving less time to react. This matters most on darker rural and suburban roads around the Richmond area.
- Inspection and resale: Severely clouded or yellowed headlights can be flagged during a Virginia state safety inspection, and they make an otherwise clean car look older and more neglected to buyers.
In short, a foggy lens quietly undermines the exact thing your headlights exist to do.
How to Tell How Bad Your Headlights Really Are
Not every hazy headlight needs the same treatment. Here's a quick way to assess yours:
- Light haze, still mostly clear: Early-stage oxidation. The coating is starting to fail but the plastic underneath is still in good shape.
- Noticeable cloudiness or a yellow tint: Mid-stage. The coating is largely gone and the surface is oxidizing. This is the most common condition we see.
- Heavy yellow/brown discoloration, chalky film, visible scratches: Advanced oxidation. Still usually restorable, but it requires more aggressive sanding to reach clear plastic.
- Internal fogging or moisture inside the lens: This is different — it points to a cracked housing or failed seal, not surface oxidation, and surface restoration alone won't fix it.
A simple test: wash the headlight thoroughly and let it dry. If it still looks cloudy or yellow afterward, the damage is in the lens surface, not on it — and that's what restoration addresses.
Why DIY Kits Often Disappoint
Drive past any auto parts store and you'll find headlight restoration kits for around twenty dollars. They can produce a short-term improvement, but most drivers are frustrated within a few months. Here's why:
- They skip the protective step. Most kits sand and polish the lens but leave it with little or no new UV coating. You've removed the oxidation but left the bare plastic exposed — so it re-oxidizes quickly, often looking worse than before within weeks.
- Inconsistent sanding. Hand-sanding without the right technique leaves uneven spots, swirl marks, and pigtailing that scatter light.
- Toothpaste and home remedies are mildly abrasive at best. They might brighten a very lightly hazed lens for a day or two, but they do nothing for real oxidation and add no protection at all.
The polishing is the easy part. The protection — laying down a durable new UV layer that the factory coating used to provide — is what determines whether your results last six weeks or several years.
How Professional Headlight Restoration Works
A proper restoration rebuilds the lens surface in stages and, crucially, re-seals it. At BrightLane, the process follows these core steps:
1. Cleaning and Masking
The lens is thoroughly cleaned, and the surrounding paint and trim are taped off to protect them during sanding.
2. Wet Sanding in Stages
We wet-sand the lens with progressively finer grits. The first pass removes the oxidized, yellowed top layer of plastic; each finer grit erases the scratches left by the previous one. This is the step that physically removes the damage rather than just hiding it.
3. Polishing and Buffing
The sanded lens is machine-polished to restore optical clarity, bringing back the smooth, glass-like surface that lets light pass through cleanly.
4. Applying a New UV Protective Coating
This is the most important step and the one DIY kits usually skip. A fresh UV-resistant sealant or coating is applied to replace the factory protection that wore away. This is what keeps the clarity from oxidizing again quickly.
The whole job is typically completed the same day, restores clarity dramatically, and costs a fraction of replacing the headlight assemblies — which can run into the hundreds of dollars per side once you factor in parts and labor.
How to Keep Your Headlights Clear Longer
Whether you've just had a restoration or you're trying to protect headlights that are still in good shape, these habits genuinely slow the damage:
- Park in the shade or a garage when you can. Less direct sun means slower UV breakdown. Even partial shade helps over the years.
- Wash your headlights regularly. Removing road film, salt, and grit reduces the chemical and abrasive wear that thins the coating.
- Apply a UV-protective sealant or wax. A dedicated headlight sealant — or even waxing the lenses when you wax the car — adds a sacrificial protective layer.
- Avoid harsh chemicals. Don't use ammonia-based glass cleaners or abrasive scrubbers on polycarbonate lenses.
- Address haze early. A lightly oxidized lens is far easier and cheaper to restore than one that's been left to yellow for years. Catching it early often means a gentler, longer-lasting result.
Think of it the way you'd think about waxing your paint: a little routine protection prevents a much bigger problem down the road.
When Restoration Isn't the Answer
Restoration is the right call for the vast majority of cloudy, yellowed, oxidized headlights — the damage is on the surface, and the surface can be rebuilt. But there are a few cases where it isn't enough:
- Cracked lenses that let in water and dirt
- Condensation or moisture trapped inside the sealed housing
- Broken mounting tabs or a damaged reflector inside the assembly
In those situations the housing itself has failed, and replacement is the proper fix. If you're not sure which camp your headlights fall into, that's exactly the kind of thing we can assess for you before any work begins.
The Bottom Line
Cloudy, yellow headlights aren't a sign your car is falling apart — they're the predictable result of UV exposure, oxidation, and road wear breaking down the factory protective coating on a plastic lens. The good news is that in almost every case, the damage is on the surface and fully restorable. The key is removing the oxidized layer and replacing the UV protection, so the clarity actually lasts.
If your headlights have lost their shine, professional restoration is faster, cheaper, and longer-lasting than the DIY route — and a fraction of the cost of replacement. BrightLane Restoration specializes in exactly this for drivers in Glen Allen, VA and the surrounding area. Clearer headlights mean a safer drive at night and a better-looking car in the daylight.